Remote IoT behind router setups are becoming increasingly popular among tech enthusiasts and professionals alike, especially when using versatile devices like the Raspberry Pi. Whether you're setting up a home automation system, a remote monitoring solution, or a smart device network, understanding the best methods and tools to connect your Raspberry Pi securely and efficiently is crucial. In this comprehensive guide, we'll explore everything you need to know to set up a secure and reliable remote IoT system behind your router using Raspberry Pi.
The concept of remote IoT involves enabling devices to communicate and share data over the internet, even when they're located behind a local network. While this setup opens up countless possibilities, it also introduces challenges such as security concerns and connectivity limitations. This guide will address these challenges and provide practical solutions to help you achieve a seamless remote IoT experience.
By the end of this article, you'll have a clear understanding of the best practices, tools, and configurations for creating a robust remote IoT system using Raspberry Pi. Whether you're a beginner or an experienced developer, this guide will equip you with the knowledge and resources to succeed in your IoT projects.
Table of Contents:
- Introduction to Remote IoT Behind Router
- Why Raspberry Pi is Perfect for IoT
- Securing Your IoT Network Behind Router
- Best Remote Access Methods for Raspberry Pi
- Essential Tools and Software
- Setting Up Port Forwarding
- Configuring Dynamic DNS
- Using Tunneling Services
- Establishing a Secure SSH Connection
- IoT Security Best Practices
- Conclusion and Next Steps
Introduction to Remote IoT Behind Router
Remote IoT systems are revolutionizing the way we interact with technology. By enabling devices to communicate and share data over the internet, these systems empower users to control and monitor their devices from anywhere in the world. However, setting up a remote IoT system behind a router can be challenging, especially when considering factors such as security, reliability, and ease of use.
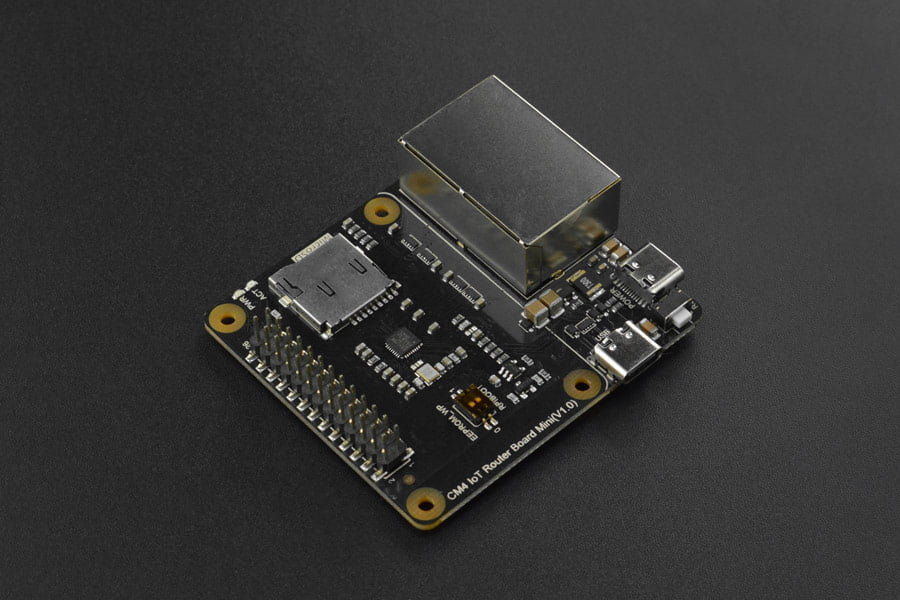
One of the most popular platforms for remote IoT projects is the Raspberry Pi. This compact and affordable device offers powerful processing capabilities, making it ideal for running IoT applications. With the right configuration, you can set up a secure and efficient remote IoT system using Raspberry Pi, even when it's behind your home or office router.
In this section, we'll explore the basics of remote IoT and why using Raspberry Pi is a great choice for your projects. We'll also discuss the importance of security and how to overcome common challenges associated with remote IoT setups.
Why Raspberry Pi is Perfect for IoT
The Raspberry Pi has become a favorite among IoT developers due to its versatility, affordability, and ease of use. This tiny computer offers a range of features that make it ideal for remote IoT projects, including:
- Low Power Consumption: Raspberry Pi consumes minimal power, making it suitable for long-term IoT deployments.
- Wide Range of Interfaces: Equipped with GPIO pins, USB ports, and Ethernet, Raspberry Pi can easily connect to various sensors, actuators, and other devices.
- Support for Multiple Operating Systems: Raspberry Pi supports a variety of operating systems, including Raspbian, Ubuntu, and specialized IoT-focused distributions.
- Community Support: The Raspberry Pi community is vast and active, providing endless resources and tutorials for IoT enthusiasts.
Whether you're building a weather station, a home automation system, or a remote monitoring solution, Raspberry Pi offers the flexibility and power needed to bring your ideas to life.
Securing Your IoT Network Behind Router
Security is a critical consideration when setting up a remote IoT system. Devices connected to the internet are vulnerable to attacks, and ensuring the security of your network is paramount. When using Raspberry Pi behind a router, it's essential to implement robust security measures to protect your devices and data.
Some of the best practices for securing your IoT network include:
- Firewall Configuration: Use a firewall to restrict access to your network and only allow necessary traffic.
- Regular Updates: Keep your Raspberry Pi's operating system and software up to date to protect against vulnerabilities.
- Strong Passwords: Use complex passwords for all accounts and enable two-factor authentication whenever possible.
- Network Segmentation: Isolate your IoT devices on a separate network to limit potential damage in case of a breach.
By following these security best practices, you can create a safe and reliable environment for your remote IoT system.
Best Remote Access Methods for Raspberry Pi
There are several methods for accessing your Raspberry Pi remotely, each with its own advantages and disadvantages. Choosing the right method depends on your specific needs and the level of security you require. Below are some of the most popular remote access methods for Raspberry Pi:
Setting Up Port Forwarding
Port forwarding allows you to access your Raspberry Pi from outside your local network by mapping specific ports on your router to your device. This method is straightforward but requires careful configuration to ensure security.
Steps to Set Up Port Forwarding:
- Log in to your router's admin interface.
- Locate the port forwarding settings and create a new rule.
- Specify the port number and the IP address of your Raspberry Pi.
- Save the changes and test the connection.
Configuring Dynamic DNS
Dynamic DNS (DDNS) is a service that maps your dynamic IP address to a static domain name, making it easier to access your Raspberry Pi remotely. This method is particularly useful if your internet service provider assigns a changing IP address to your network.
Popular DDNS Providers:
- No-IP
- Dynu
- duckDNS
Using Tunneling Services
Tunneling services like ngrok and localtunnel provide a secure and easy way to access your Raspberry Pi remotely without the need for port forwarding or DDNS. These services create a secure tunnel between your device and the internet, allowing you to access your Raspberry Pi from anywhere.
Essential Tools and Software
To set up a successful remote IoT system with Raspberry Pi, you'll need the right tools and software. Below are some of the essential tools and platforms you should consider:
- SSH Client: Use an SSH client like PuTTY or Terminal to connect to your Raspberry Pi remotely.
- IoT Platforms: Platforms like Home Assistant, Node-RED, and MQTT provide powerful tools for managing and controlling IoT devices.
- Monitoring Tools: Use tools like Grafana and Prometheus to monitor the performance and health of your IoT system.
Establishing a Secure SSH Connection
SSH (Secure Shell) is a protocol that allows you to securely access your Raspberry Pi from a remote location. To ensure the security of your SSH connection, consider the following tips:
- Use a non-default SSH port to reduce the risk of automated attacks.
- Disable password-based authentication and use SSH keys instead.
- Limit SSH access to specific IP addresses or networks.
IoT Security Best Practices
Security should be a top priority when setting up a remote IoT system. Below are some additional best practices to enhance the security of your IoT network:
- Regular Audits: Conduct regular security audits to identify and address potential vulnerabilities.
- Data Encryption: Encrypt all data transmitted between devices to protect against interception.
- Device Isolation: Isolate critical devices on a separate network to minimize the impact of a potential breach.
Conclusion and Next Steps
Setting up a remote IoT system behind a router using Raspberry Pi can seem daunting at first, but with the right knowledge and tools, it becomes a manageable and rewarding task. By following the best practices and methods outlined in this guide, you can create a secure and efficient remote IoT system that meets your needs.
We encourage you to take action by implementing the steps discussed in this article. Whether you're configuring port forwarding, setting up a DDNS service, or securing your SSH connection, each step brings you closer to achieving a successful remote IoT setup. Don't forget to share your experiences and insights in the comments section below, and feel free to explore other articles on our site for more information on IoT and Raspberry Pi projects.
Happy building and stay secure!