Accessing your Raspberry Pi via SSH from outside your local network can be challenging, especially when it's behind a firewall. This article will guide you through the process of securely accessing your Raspberry Pi without compromising your network's integrity or exposing it to potential threats. Whether you're a tech enthusiast or a professional, understanding how to navigate firewalls and securely connect to your device is essential for remote management.
As more people rely on remote access for their devices, the need for secure methods of connecting becomes increasingly important. Firewalls, designed to protect networks from unauthorized access, often block external connections. However, with the right tools and techniques, you can bypass these restrictions and maintain secure SSH access to your Raspberry Pi.
This article will explore various methods, tools, and best practices for setting up SSH access to your Raspberry Pi while ensuring your network remains secure. We'll cover everything from setting up port forwarding to using third-party tools like SSH tunnels and reverse proxies. By the end, you'll have a clear understanding of how to achieve this without exposing your system to potential risks.
Understanding SSH and Its Importance
Secure Shell (SSH) is a cryptographic network protocol used for secure data communication, remote command execution, and other secure network services between a client and a server. It provides a secure channel over an unsecured network by encrypting all data transmitted between the client and server.
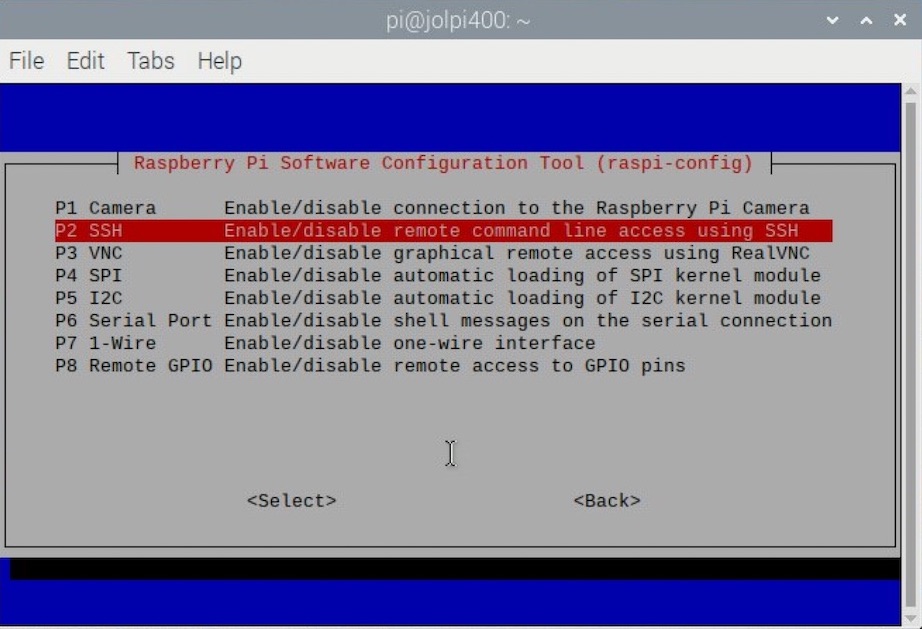
When working with a Raspberry Pi, SSH allows you to manage the device remotely without needing physical access. This is particularly useful for headless setups where the Raspberry Pi is used without a monitor, keyboard, or mouse. However, accessing your Raspberry Pi via SSH becomes more complicated when it's behind a firewall, which is designed to block unauthorized access.
Why SSH is Essential for Raspberry Pi Users
SSH offers several advantages for Raspberry Pi users:
- Remote Access: Manage your Raspberry Pi from anywhere in the world.
- Security: Encrypt all data transmitted between your device and the server, ensuring confidentiality and integrity.
- Automation: Run scripts and automate tasks remotely.
- Flexibility: Access files, configure settings, and troubleshoot issues without needing physical access.
Challenges of Accessing Raspberry Pi Behind a Firewall
Firewalls are designed to protect your network by blocking unauthorized access. While this is beneficial for security, it can also make remote access to devices like Raspberry Pi more challenging. Firewalls typically block incoming connections unless explicitly configured to allow them.
When your Raspberry Pi is behind a firewall, you face several challenges:
- Port Blocking: Firewalls often block standard SSH ports (e.g., port 22), preventing external connections.
- Dynamic IP Addresses: Many home networks use dynamic IP addresses, making it difficult to establish a stable connection.
- Security Risks: Opening ports in your firewall can expose your network to potential threats if not properly secured.
Solutions to Overcome Firewall Restrictions
Fortunately, there are several solutions to overcome these challenges while maintaining security:
- Port forwarding
- SSH tunnels
- Reverse proxies
- Third-party services
Setting Up Port Forwarding for SSH Access
Port forwarding is one of the most common methods for accessing a Raspberry Pi behind a firewall. It involves configuring your router to forward incoming SSH connections to your Raspberry Pi's local IP address.
To set up port forwarding:
- Log in to your router's admin interface.
- Locate the port forwarding section in the settings menu.
- Create a new rule to forward incoming connections on port 22 (or a custom port) to your Raspberry Pi's local IP address.
- Save the changes and restart your router if necessary.
Best Practices for Port Forwarding
While port forwarding is a straightforward solution, it's important to follow best practices to ensure security:
- Use a Non-Standard Port: Change the default SSH port (22) to a non-standard port to reduce the risk of brute-force attacks.
- Enable SSH Key Authentication: Disable password authentication and use SSH keys for secure access.
- Limit Access: Restrict incoming connections to specific IP addresses if possible.
Using SSH Tunnels for Secure Connections
SSH tunnels provide an alternative method for accessing your Raspberry Pi behind a firewall. They create an encrypted connection between your local machine and the Raspberry Pi, allowing you to bypass firewall restrictions.
To set up an SSH tunnel:
- Install an SSH client on your local machine (e.g., PuTTY for Windows or the built-in terminal for macOS/Linux).
- Use the following command to establish a reverse SSH tunnel:
ssh -R 2222:localhost:22 user@remote_server - Connect to your Raspberry Pi via the remote server using the forwarded port.
Advantages of SSH Tunnels
SSH tunnels offer several advantages:
- Security: All data transmitted through the tunnel is encrypted.
- Flexibility: Can be used to access multiple services (e.g., HTTP, FTP) through a single tunnel.
- Compatibility: Works with most firewalls and networks.
Implementing Reverse Proxies for Remote Access
A reverse proxy acts as an intermediary between your Raspberry Pi and external clients, forwarding requests to the appropriate internal server. This method allows you to access your Raspberry Pi without exposing it directly to the internet.
Popular reverse proxy tools include NGINX and Apache. To set up a reverse proxy:
- Install the reverse proxy software on a server with public IP access.
- Configure the proxy to forward SSH traffic to your Raspberry Pi's local IP address.
- Secure the proxy server with SSL/TLS certificates to encrypt all traffic.
Security Considerations for Reverse Proxies
When using a reverse proxy, it's crucial to implement security measures:
- Use HTTPS: Encrypt all traffic between the client and the proxy server.
- Limit Access: Restrict incoming connections to trusted IP addresses.
- Monitor Logs: Regularly review logs for suspicious activity.
Exploring Third-Party Services for SSH Access
Several third-party services simplify the process of accessing your Raspberry Pi behind a firewall. These services often provide user-friendly interfaces and additional features like secure tunnels and dynamic DNS.
Some popular options include:
- ngrok: A tunneling service that creates secure tunnels for local servers.
- Tailscale: A peer-to-peer networking tool that simplifies remote access.
- PageKite: A service that allows you to expose local servers to the internet securely.
Choosing the Right Service
When selecting a third-party service, consider the following factors:
- Security: Ensure the service uses encryption and follows best security practices.
- Reliability: Choose a service with a proven track record of uptime and performance.
- Cost: Compare pricing plans and select a service that fits your budget.
Best Practices for Securing Your Raspberry Pi
Securing your Raspberry Pi is essential when enabling remote access. Follow these best practices to protect your device:
- Keep Software Updated: Regularly update your Raspberry Pi's operating system and installed software to patch vulnerabilities.
- Use Strong Passwords: Create strong, unique passwords and consider using a password manager.
- Enable Firewall Rules: Configure your Raspberry Pi's firewall to block unnecessary incoming connections.
- Monitor Logs: Regularly review system logs for suspicious activity.
Additional Security Measures
Consider implementing additional security measures:
- Two-Factor Authentication: Add an extra layer of security by enabling 2FA for SSH access.
- Intrusion Detection Systems: Install tools like Fail2Ban to detect and block brute-force attacks.
- Network Segmentation: Isolate your Raspberry Pi on a separate network segment to minimize potential risks.
Troubleshooting Common Issues
Even with proper setup, you may encounter issues when accessing your Raspberry Pi via SSH. Here are some common problems and solutions:
- Connection Refused: Verify that SSH is enabled on your Raspberry Pi and that the correct port is forwarded.
- Timeout Errors: Check your router's firewall settings and ensure the correct IP address is used.
- Authentication Failures: Double-check your SSH keys or passwords and ensure they match the ones on your Raspberry Pi.
Seeking Help
If you're unable to resolve an issue, consider seeking help from online forums or communities. Popular resources include:
- Raspberry Pi Forums
- Stack Overflow
- Reddit's r/RaspberryPi
Conclusion
Accessing your Raspberry Pi via SSH behind a firewall is possible with the right tools and techniques. By understanding the challenges and implementing best practices, you can securely manage your device from anywhere in the world. Whether you choose port forwarding, SSH tunnels, reverse proxies, or third-party services, ensuring security should always be your top priority.
We encourage you to experiment with the methods discussed in this article and find the solution that best fits your needs. If you found this article helpful, please share it with others and leave a comment below. For more tips and tutorials, explore our other articles on Raspberry Pi and networking topics.
Table of Contents
- Understanding SSH and Its Importance
- Challenges of Accessing Raspberry Pi Behind a Firewall
- Setting Up Port Forwarding for SSH Access
- Using SSH Tunnels for Secure Connections
- Implementing Reverse Proxies for Remote Access
- Exploring Third-Party Services for SSH Access