Setting up a remote IoT infrastructure using VPC SSH on a Raspberry Pi with AWS Free Tier is an exciting opportunity for developers and hobbyists alike. This setup allows you to create a secure and scalable network for your IoT devices without breaking the bank. With Amazon Web Services (AWS) offering a free tier, it's easier than ever to get started with cloud-based IoT projects.
The concept of remote IoT management has gained immense popularity in recent years. By leveraging AWS's Virtual Private Cloud (VPC) and Secure Shell (SSH), you can establish a robust connection between your Raspberry Pi and the cloud. This not only enhances the security of your IoT devices but also improves their performance and reliability.
In this article, we will delve deep into the process of setting up a remote IoT environment using VPC SSH on a Raspberry Pi with AWS Free Tier. Whether you're a beginner or an experienced developer, this guide will provide you with the knowledge and tools needed to create a secure and efficient IoT network.
Table of Contents
- Introduction to RemoteIoT VPC SSH Raspberry Pi AWS Free
- Understanding Raspberry Pi
- Overview of AWS Free Tier
- Setting Up AWS VPC
- Establishing SSH Connection
- Building a Remote IoT Environment
- Security Best Practices
- Troubleshooting Common Issues
- Optimizing Your RemoteIoT Setup
- Conclusion and Next Steps
Introduction to RemoteIoT VPC SSH Raspberry Pi AWS Free
RemoteIoT refers to the practice of managing and controlling IoT devices from a remote location. This setup is particularly useful for projects that require real-time data processing and analysis. By integrating Raspberry Pi with AWS VPC and SSH, you can create a secure and efficient IoT network that operates seamlessly.
AWS Free Tier offers a range of services that are ideal for beginners and small-scale projects. With this tier, you can experiment with different AWS services without incurring any costs. This makes it an excellent platform for learning and developing IoT applications.
In the following sections, we will explore the key components of this setup, including Raspberry Pi, AWS VPC, and SSH. We will also discuss the benefits of using AWS Free Tier for your IoT projects and provide step-by-step instructions for setting up your remote IoT environment.
Understanding Raspberry Pi
What is Raspberry Pi?
Raspberry Pi is a series of small single-board computers developed by the Raspberry Pi Foundation. These devices are widely used in educational settings and by hobbyists for various projects, including IoT applications. Raspberry Pi is known for its affordability, versatility, and ease of use.
Key Features of Raspberry Pi
- Compact size and low power consumption
- Support for multiple operating systems, including Linux
- GPIO pins for connecting external devices
- Built-in Wi-Fi and Bluetooth capabilities
These features make Raspberry Pi an ideal platform for developing IoT applications. Its compatibility with AWS services further enhances its capabilities, allowing you to create powerful and scalable IoT solutions.
Overview of AWS Free Tier
AWS Free Tier provides a range of free services for the first 12 months of your AWS account. This includes services such as EC2 instances, S3 storage, and VPC. These services are perfect for experimenting with AWS and developing small-scale applications.
Some of the benefits of AWS Free Tier include:
- Access to a wide range of AWS services
- No upfront costs or commitments
- Ideal for learning and developing new skills
By leveraging AWS Free Tier, you can set up a remote IoT environment without worrying about costs. This makes it an excellent option for beginners and small-scale projects.
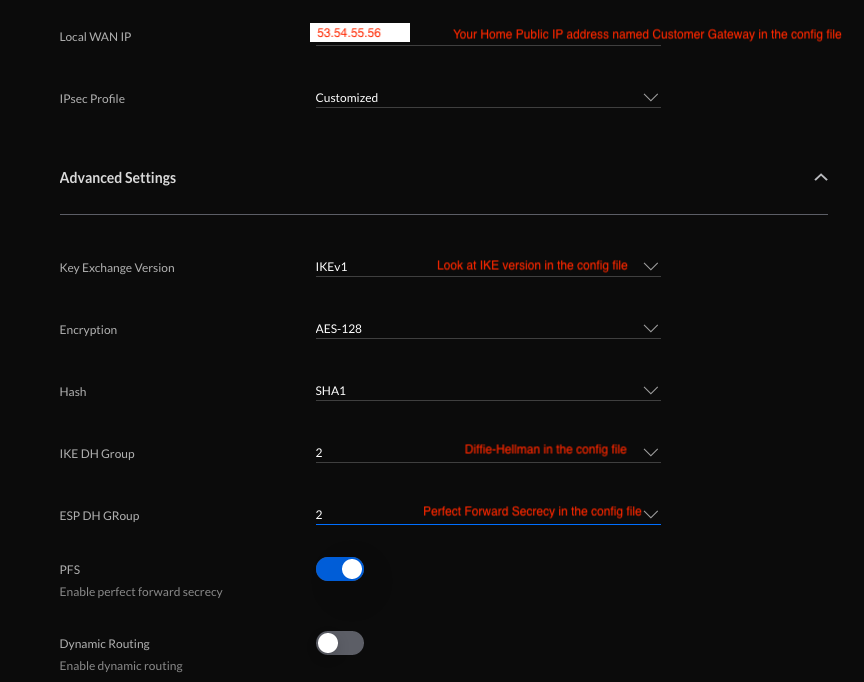
Setting Up AWS VPC
AWS Virtual Private Cloud (VPC) allows you to create an isolated network environment in the AWS cloud. This is essential for securing your IoT devices and ensuring that they communicate only with authorized systems.
Steps to Set Up AWS VPC
- Log in to your AWS Management Console
- Go to the VPC dashboard and select "Create VPC"
- Configure your VPC settings, including CIDR block and DNS options
- Create subnets and route tables for your VPC
- Set up security groups to control access to your resources
Once your VPC is set up, you can deploy your Raspberry Pi within this secure network environment. This ensures that your IoT devices are protected from unauthorized access and potential threats.
Establishing SSH Connection
Secure Shell (SSH) is a protocol that allows you to securely connect to remote devices over an unsecured network. By using SSH, you can manage your Raspberry Pi and other IoT devices from a remote location without compromising security.
Steps to Establish SSH Connection
- Enable SSH on your Raspberry Pi by running the command
sudo raspi-config - Generate an SSH key pair using the command
ssh-keygen - Copy your public key to the Raspberry Pi using the command
ssh-copy-id - Connect to your Raspberry Pi using the command
ssh [username]@[raspberrypi_ip]
With SSH configured, you can now manage your Raspberry Pi remotely, making it easier to monitor and control your IoT devices.
Building a Remote IoT Environment
Now that you have set up AWS VPC and SSH, it's time to create your remote IoT environment. This involves deploying your Raspberry Pi within the VPC and configuring it to communicate with your IoT devices.
Key Components of a Remote IoT Environment
- Raspberry Pi as the central hub for your IoT devices
- AWS VPC for securing your network environment
- SSH for remote management and control
By integrating these components, you can create a powerful and secure IoT network that operates seamlessly. This setup allows you to monitor and control your IoT devices from anywhere in the world.
Security Best Practices
Security is a critical aspect of any IoT project. To ensure the safety of your devices and data, it's essential to follow best practices when setting up your remote IoT environment.
Best Practices for Securing Your IoT Environment
- Use strong passwords and enable two-factor authentication
- Regularly update your software and firmware
- Limit access to your devices and data
- Monitor your network for suspicious activity
By implementing these best practices, you can protect your IoT devices and data from potential threats and ensure the long-term security of your network.
Troubleshooting Common Issues
Even with the best planning and execution, issues can arise when setting up a remote IoT environment. In this section, we will discuss some common problems and their solutions.
Common Issues and Solutions
- Connection problems: Check your network settings and ensure that SSH is enabled on your Raspberry Pi
- Security concerns: Review your security groups and ensure that only authorized access is allowed
- Performance issues: Optimize your Raspberry Pi configuration and ensure that your devices are properly configured
By addressing these issues promptly, you can ensure the smooth operation of your remote IoT environment.
Optimizing Your RemoteIoT Setup
To get the most out of your remote IoT setup, it's important to optimize your configuration and resources. This involves fine-tuning your Raspberry Pi settings and ensuring that your AWS resources are used efficiently.
Tips for Optimizing Your Setup
- Monitor your resource usage and adjust your settings accordingly
- Use AWS CloudWatch to track your system performance
- Regularly back up your data to prevent loss
By following these tips, you can improve the performance and reliability of your remote IoT environment, ensuring that it meets your needs and expectations.
Conclusion and Next Steps
In conclusion, setting up a remote IoT environment using VPC SSH on a Raspberry Pi with AWS Free Tier is a powerful and cost-effective solution for managing IoT devices. By following the steps outlined in this article, you can create a secure and efficient network that operates seamlessly.
We encourage you to take the next steps by experimenting with different AWS services and exploring new possibilities for your IoT projects. Don't forget to share your experiences and insights with the community, and feel free to leave a comment or suggestion below. Together, we can continue to advance the field of IoT and create innovative solutions for the future.
References: