Connecting to your Raspberry Pi remotely via VNC on Ubuntu is an essential skill for anyone working with IoT devices, remote servers, or home automation systems. Whether you're a hobbyist or a professional developer, understanding how to set up a secure and efficient remote connection can significantly boost your productivity. In this article, we'll walk you through the entire process step by step, ensuring you can connect remotely without any hassle.
Remote access to your Raspberry Pi opens up a world of possibilities. Imagine being able to control your home automation system from your office or troubleshoot a server issue without physically being present. VNC (Virtual Network Computing) is one of the most popular methods to achieve this, and when paired with Ubuntu, it becomes even more powerful. This guide will help you set up everything you need to remotely connect to your Raspberry Pi via VNC on Ubuntu for free.
Our goal is to provide you with a comprehensive guide that covers everything from installation to troubleshooting. By the end of this article, you'll have the confidence and knowledge to set up a seamless remote connection. Let's dive in!
Table of Contents
- Introduction to Remote Connections
- Understanding Raspberry Pi Basics
- What is VNC?
- Setting Up Ubuntu
- Installing VNC Server on Raspberry Pi
- Configuring VNC on Raspberry Pi
- Connecting to Raspberry Pi via VNC on Ubuntu
- Troubleshooting Common Issues
- Security Tips for Remote Connections
- Conclusion and Next Steps
Introduction to Remote Connections
In today's digital age, remote connections have become indispensable. Whether you're managing a network of IoT devices or simply need to access your Raspberry Pi from another location, tools like VNC make it possible. VNC allows you to control your Raspberry Pi as if you were sitting right in front of it.
Why Use VNC for Remote Connections?
VNC offers several advantages over other remote connection methods:
- Graphical interface for ease of use
- Compatibility with multiple operating systems
- Free and open-source options available
- Secure connections with proper configuration
Understanding Raspberry Pi Basics
Before diving into the technical aspects of setting up VNC, it's essential to understand the basics of Raspberry Pi. The Raspberry Pi is a small, affordable computer that can be used for a variety of projects, from home automation to robotics.
Key Features of Raspberry Pi
- Compact size and low power consumption
- Support for multiple operating systems
- Extensive community support and resources
- Highly customizable for various applications
What is VNC?
VNC (Virtual Network Computing) is a graphical desktop sharing system that allows you to remotely control another computer. It transmits the keyboard and mouse events from one computer to another over a network connection.
How Does VNC Work?
VNC works by sending screen updates from the server (Raspberry Pi) to the client (Ubuntu). This allows you to interact with the remote device as if you were physically present.
Setting Up Ubuntu
To connect to your Raspberry Pi via VNC, you'll need to set up your Ubuntu machine. Ensure that your Ubuntu system is updated and has the necessary software installed.
Steps to Set Up Ubuntu
Follow these steps to prepare your Ubuntu machine:
- Update your system using
sudo apt update && sudo apt upgrade - Install VNC Viewer by downloading it from the official website or using the package manager
- Ensure your network settings are configured correctly
Installing VNC Server on Raspberry Pi
The first step in setting up remote access is installing a VNC server on your Raspberry Pi. This will allow you to share your Raspberry Pi's desktop with other devices.
Installing VNC Server
Use the following commands to install VNC Server on your Raspberry Pi:
- Open the terminal on your Raspberry Pi
- Run
sudo apt updateto update your package list - Install VNC Server using
sudo apt install realvnc-vnc-server realvnc-vnc-viewer
Configuring VNC on Raspberry Pi
After installing the VNC server, you'll need to configure it to suit your needs. This includes setting up a password and enabling remote access.
Configuring VNC Settings
- Set a secure password for VNC access
- Enable VNC in the Raspberry Pi Configuration menu
- Test the connection locally before attempting remote access
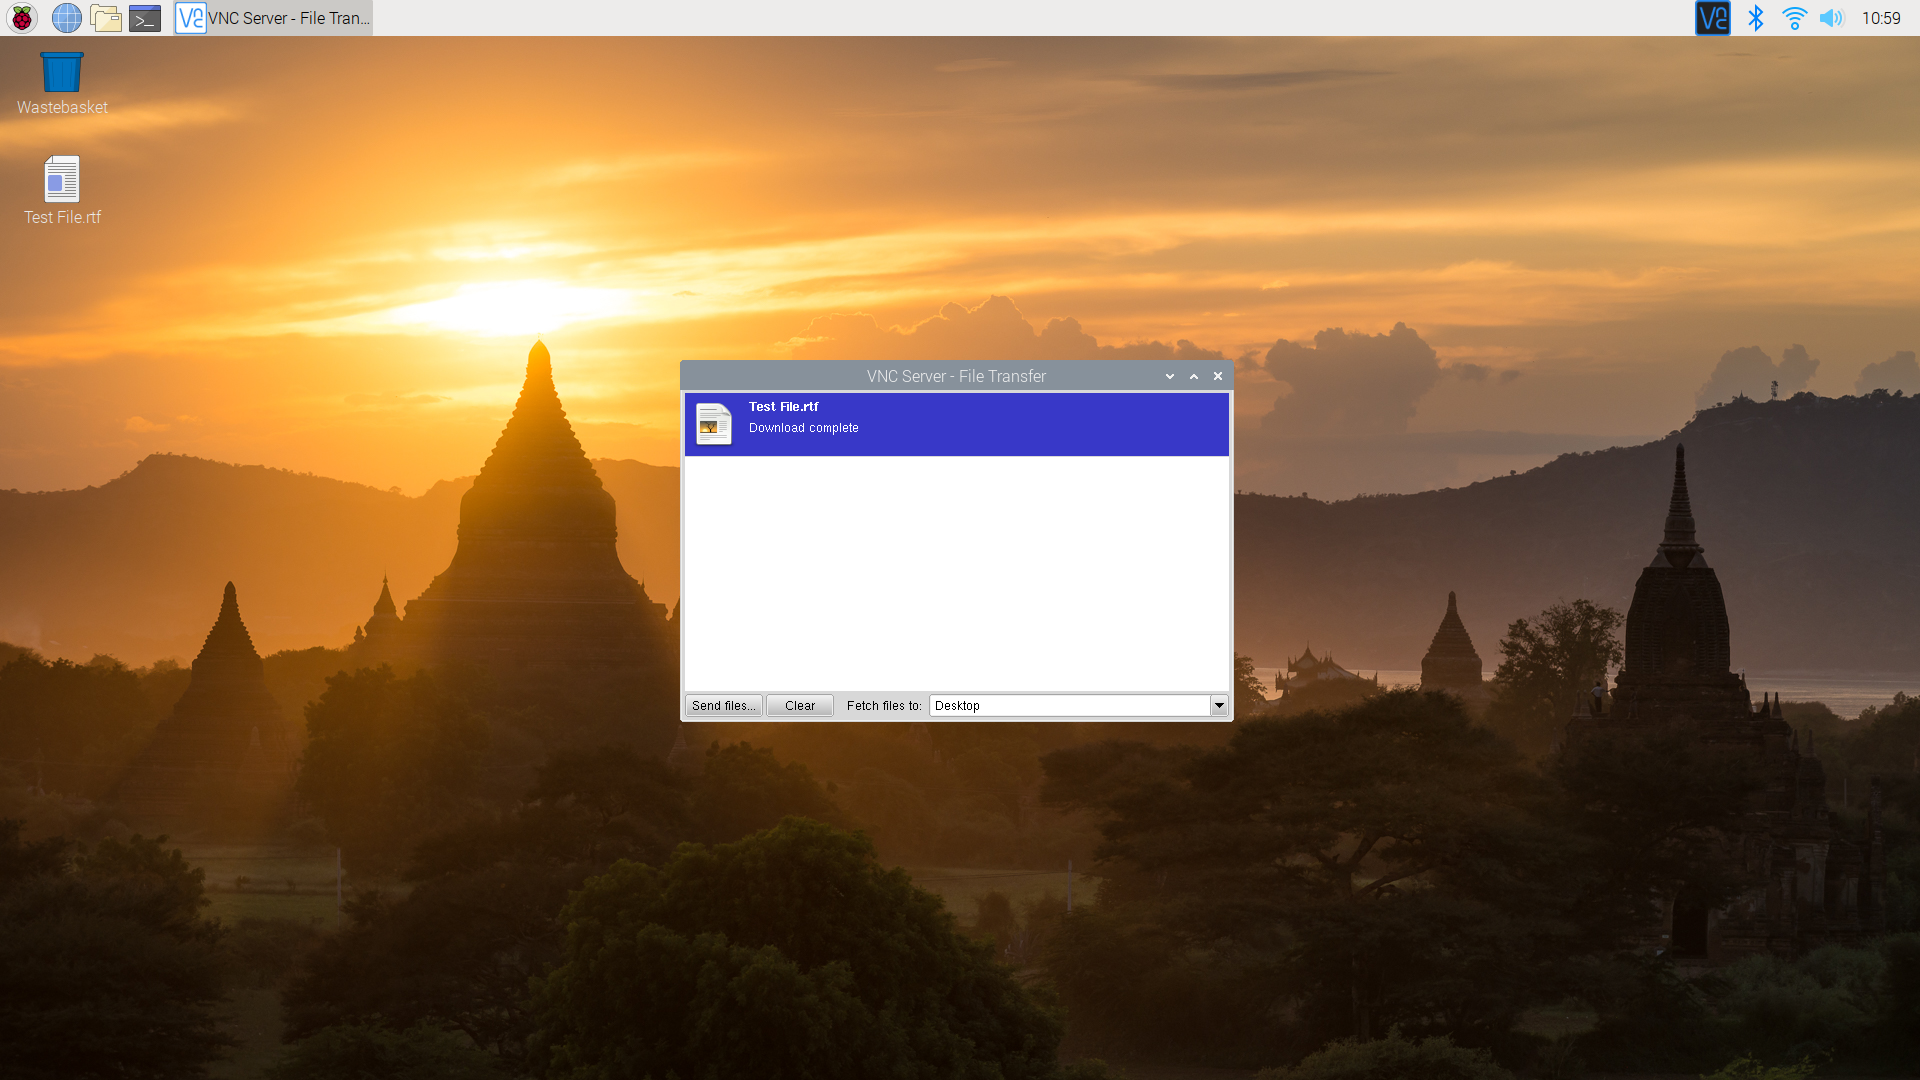
Connecting to Raspberry Pi via VNC on Ubuntu
With both the server and client set up, you're ready to connect to your Raspberry Pi from your Ubuntu machine. Follow these steps to establish the connection:
Steps to Connect
- Launch VNC Viewer on your Ubuntu machine
- Enter the IP address of your Raspberry Pi
- Enter the VNC password when prompted
- You should now see the Raspberry Pi desktop on your Ubuntu screen
Troubleshooting Common Issues
Even with careful setup, issues can arise when connecting remotely. Here are some common problems and their solutions:
Common Issues and Fixes
- Connection Refused: Check your IP address and ensure VNC is enabled on the Raspberry Pi
- Authentication Failed: Verify the VNC password and try resetting it
- Slow Performance: Optimize VNC settings for better performance
Security Tips for Remote Connections
Security is paramount when setting up remote connections. Follow these tips to ensure your connection remains secure:
Best Security Practices
- Use strong, unique passwords for VNC
- Enable encryption for VNC connections
- Regularly update your Raspberry Pi and Ubuntu systems
Conclusion and Next Steps
In conclusion, remotely connecting to your Raspberry Pi via VNC on Ubuntu is a straightforward process that offers numerous benefits. By following the steps outlined in this guide, you can set up a secure and efficient remote connection. Remember to prioritize security and regularly update your systems to protect against potential threats.
We encourage you to share your experience with this guide in the comments below. If you found this article helpful, consider exploring other articles on our site. Your feedback helps us improve and provide even better content in the future. Happy tinkering!
References: