Setting up a Raspberry Pi SSH tunnel is a powerful way to secure your remote connections and access your devices safely from anywhere. Whether you're a hobbyist or a professional, understanding SSH tunnels can significantly enhance your networking capabilities. This guide will walk you through everything you need to know about Raspberry Pi SSH tunnels, from the basics to advanced configurations.
As the world becomes increasingly interconnected, the importance of secure communication between devices cannot be overstated. The Raspberry Pi, with its versatility and affordability, has become a popular choice for developers and enthusiasts alike. By leveraging SSH tunnels, you can create secure pathways for data transmission, ensuring that sensitive information remains protected.
This article delves deep into the concept of Raspberry Pi SSH tunnels, providing step-by-step instructions, expert tips, and practical examples to help you master this essential skill. Whether you're setting up a home server, accessing files remotely, or managing IoT devices, this guide has got you covered.
Table of Contents
- Introduction to SSH
- Raspberry Pi Overview
- Why Use SSH Tunnel?
- Setting Up SSH on Raspberry Pi
- Configuring SSH Tunnel
- Advanced SSH Tunneling Techniques
- Security Best Practices
- Troubleshooting Common Issues
- Real-World Applications
- Conclusion and Next Steps
Introduction to SSH
Secure Shell (SSH) is a cryptographic network protocol used for secure communication between devices. It provides a secure channel over an unsecured network, ensuring that data transmitted between devices remains encrypted and protected from unauthorized access.
How SSH Works
SSH operates on a client-server model, where the client initiates a connection to the server. The protocol uses public-key cryptography to authenticate the devices and encrypt the data. Here are the key components of SSH:
- Authentication: Ensures that the client and server are who they claim to be.
- Encryption: Protects data in transit from being intercepted or tampered with.
- Integrity: Verifies that the data has not been altered during transmission.
For Raspberry Pi SSH tunnel, this protocol forms the foundation of secure remote access and data transfer.
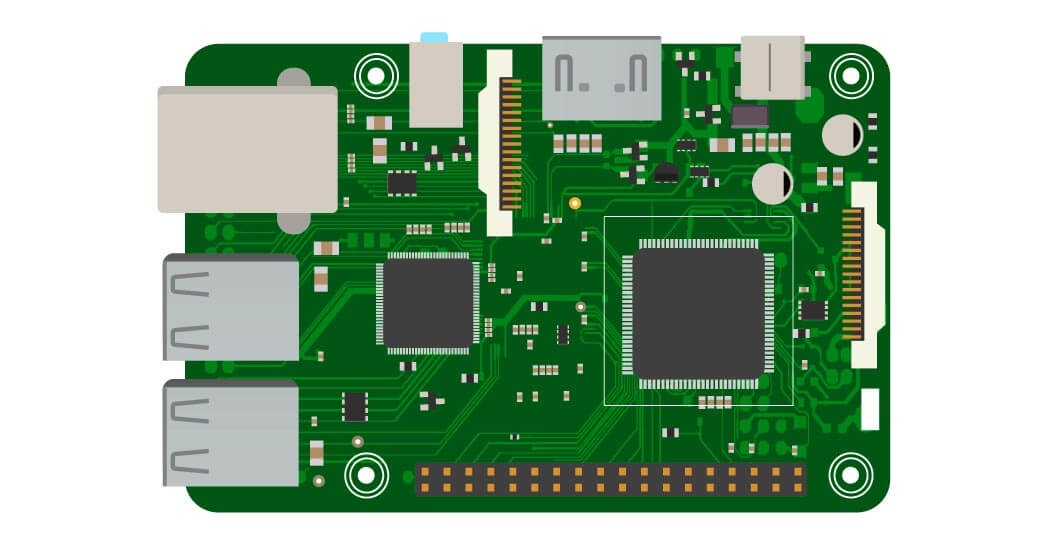
Raspberry Pi Overview
The Raspberry Pi is a small, affordable computer designed to promote learning about computing and programming. Despite its compact size, it packs enough power to handle a wide range of tasks, from basic computing to complex automation projects.
Key Features of Raspberry Pi
- Compact and lightweight design
- Cost-effective solution for various applications
- Versatile connectivity options, including Ethernet and Wi-Fi
- Support for multiple operating systems, such as Raspbian and Ubuntu
With its robust hardware and software capabilities, the Raspberry Pi is an ideal platform for setting up SSH tunnels.
Why Use SSH Tunnel?
SSH tunnels offer several advantages that make them indispensable for secure remote access. Here are some compelling reasons to use SSH tunnels with your Raspberry Pi:
- Enhanced Security: Encrypts data transmission, protecting sensitive information from eavesdropping and interception.
- Remote Access: Allows you to access your Raspberry Pi from anywhere in the world, as long as you have an internet connection.
- Flexibility: Supports various applications, including file transfer, web browsing, and application tunneling.
By leveraging SSH tunnels, you can ensure that your Raspberry Pi remains secure and accessible, no matter where you are.
Setting Up SSH on Raspberry Pi
Enabling SSH on your Raspberry Pi is a straightforward process. Follow these steps to get started:
Step 1: Access Your Raspberry Pi
Connect to your Raspberry Pi either directly via a monitor and keyboard or remotely through another computer.
Step 2: Enable SSH
Open the Raspberry Pi Configuration tool by typing the following command in the terminal:
sudo raspi-config
Navigate to "Interfacing Options"> "SSH"> "Enable" and follow the prompts to enable SSH.
Step 3: Restart Your Raspberry Pi
Once SSH is enabled, restart your Raspberry Pi to apply the changes:
sudo reboot
With SSH enabled, you're ready to set up your SSH tunnel.
Configuring SSH Tunnel
Configuring an SSH tunnel involves setting up port forwarding to create a secure connection between your local machine and the Raspberry Pi.
Local Port Forwarding
Local port forwarding allows you to access a service on the remote server through a local port. Use the following command:
ssh -L [local_port]:[destination_host]:[destination_port] [username]@[raspberry_pi_ip]
Remote Port Forwarding
Remote port forwarding enables you to access a service on your local machine from the remote server. Use the following command:
ssh -R [remote_port]:[local_host]:[local_port] [username]@[raspberry_pi_ip]
By configuring these tunnels, you can securely access services and applications across networks.
Advanced SSH Tunneling Techniques
Once you're comfortable with basic SSH tunneling, you can explore more advanced techniques to enhance your setup.
Dynamically Forwarded Ports
Dynamic port forwarding allows you to create a SOCKS proxy, enabling secure browsing through your Raspberry Pi. Use the following command:
ssh -D [local_port] [username]@[raspberry_pi_ip]
SSH Key Authentication
For added security, replace password-based authentication with SSH keys. Generate a key pair using:
ssh-keygen -t rsa
Copy the public key to your Raspberry Pi:
ssh-copy-id [username]@[raspberry_pi_ip]
With SSH key authentication, you eliminate the risk of brute-force attacks and enhance the security of your connections.
Security Best Practices
While SSH tunnels provide robust security, it's essential to follow best practices to ensure your setup remains secure:
- Use Strong Passwords: If you're using password-based authentication, ensure your passwords are complex and unique.
- Disable Root Login: Restrict direct root access to prevent unauthorized users from gaining administrative privileges.
- Update Regularly: Keep your Raspberry Pi's operating system and SSH software up to date to protect against vulnerabilities.
By adhering to these practices, you can minimize the risk of security breaches and safeguard your Raspberry Pi.
Troubleshooting Common Issues
Even with careful setup, issues can arise. Here are some common problems and their solutions:
Connection Refused
If you encounter a "connection refused" error, ensure that SSH is enabled on your Raspberry Pi and that the IP address and port number are correct.
Permission Denied
If you receive a "permission denied" error, verify that your SSH keys are correctly configured and that the correct username is being used.
Referencing trusted sources like the Raspberry Pi Documentation can help resolve issues quickly and effectively.
Real-World Applications
Raspberry Pi SSH tunnels have numerous practical applications across various industries:
- Remote Work: Securely access office networks and resources from home.
- IoT Devices: Manage smart home devices and sensors remotely.
- Cloud Computing: Connect to cloud servers and services securely.
These applications demonstrate the versatility and importance of SSH tunnels in modern computing environments.
Conclusion and Next Steps
Mastering Raspberry Pi SSH tunneling empowers you to securely connect and manage your devices from anywhere. By following the steps outlined in this guide, you can set up and configure SSH tunnels effectively, enhancing both security and accessibility.
Take the next step by experimenting with advanced configurations and exploring additional resources. Share your experiences and insights in the comments below, and don't forget to explore other articles on our site for more valuable information.
Call to Action: Ready to secure your Raspberry Pi connections? Start by enabling SSH and configuring your first tunnel today!