Accessing Raspberry Pi from the internet has become increasingly popular among tech enthusiasts and professionals alike. Whether you're setting up a home automation system or creating a remote server, understanding how to connect your Raspberry Pi to the internet securely is essential. This guide will walk you through everything you need to know to achieve seamless remote access.
Raspberry Pi, a small yet powerful single-board computer, offers endless possibilities for developers and hobbyists. One of the most exciting features is its ability to be accessed remotely over the internet. However, setting this up requires a solid understanding of networking concepts and security measures.
This article will provide a step-by-step guide on how to access your Raspberry Pi from the internet safely and efficiently. We'll cover everything from basic configurations to advanced security tips, ensuring your setup is both functional and protected against potential threats.
Table of Contents
- Introduction to Raspberry Pi Remote Access
- Setting Up Your Network
- Understanding Port Forwarding
- Configuring SSH on Raspberry Pi
- Using Dynamic DNS for Remote Access
- Implementing Security Measures
- Exploring VPN Options
- Troubleshooting Common Issues
- Best Practices for Remote Access
- Conclusion and Next Steps
Introduction to Raspberry Pi Remote Access
Accessing Raspberry Pi from the internet opens up a world of possibilities, allowing you to control and monitor your projects remotely. Whether you're managing a home server, running a media center, or automating your home, remote access simplifies the process significantly.
However, setting up remote access involves several steps, including configuring your network, enabling SSH, and implementing security protocols. This section will provide an overview of what you need to know before diving into the technical details.
Why Access Raspberry Pi from the Internet?
There are numerous reasons why you might want to access your Raspberry Pi remotely:
- Remote monitoring of IoT devices.
- Accessing files stored on your Pi from anywhere.
- Managing a web server or database hosted on your Pi.
- Controlling smart home devices connected to your Pi.
Setting Up Your Network
Before accessing your Raspberry Pi from the internet, you need to ensure your local network is properly configured. This involves understanding your router settings, assigning static IP addresses, and enabling necessary ports.
Assigning a Static IP Address
A static IP address ensures your Raspberry Pi always has the same address on your local network, making it easier to connect. Follow these steps to assign a static IP:
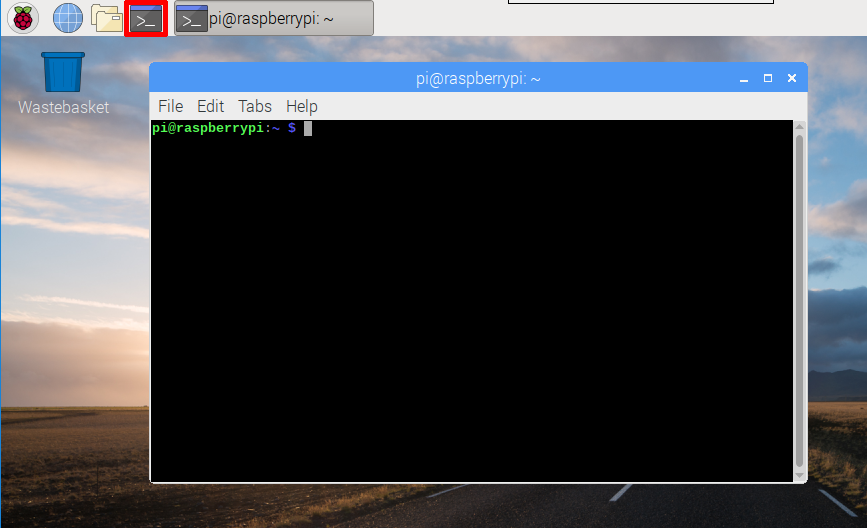
- Open the terminal on your Raspberry Pi.
- Edit the
dhcpcd.conffile using the command:sudo nano /etc/dhcpcd.conf. - Add the following lines at the bottom of the file:
interface eth0static ip_address=192.168.1.100/24static routers=192.168.1.1static domain_name_servers=192.168.1.1
- Save and exit the file, then reboot your Pi using
sudo reboot.
Understanding Port Forwarding
Port forwarding allows external devices to access your Raspberry Pi through your router. This is crucial for remote access, as it directs incoming traffic to the correct device on your network.
Steps to Configure Port Forwarding
- Log in to your router's admin interface using its IP address (e.g., 192.168.1.1).
- Navigate to the port forwarding or virtual server settings.
- Add a new rule, specifying the following:
- Service name: SSH
- External port: 22
- Internal IP address: Your Raspberry Pi's static IP
- Internal port: 22
- Save the settings and restart your router if necessary.
Configuring SSH on Raspberry Pi
SSH (Secure Shell) is the most common method for accessing Raspberry Pi remotely. It provides a secure way to connect to your Pi over the internet.
Enabling SSH
To enable SSH on your Raspberry Pi:
- Open the terminal and type
sudo raspi-config. - Select "Interfacing Options" and navigate to "SSH".
- Choose "Enable" and exit the configuration tool.
- Reboot your Pi using
sudo reboot.
Using Dynamic DNS for Remote Access
Dynamic DNS (DDNS) is a service that maps your dynamic IP address to a fixed domain name, making it easier to access your Raspberry Pi from the internet.
Setting Up DDNS
- Create an account on a DDNS provider like No-IP or DuckDNS.
- Install the DDNS client on your Raspberry Pi by following the provider's instructions.
- Configure the client to update your domain name automatically whenever your IP address changes.
Implementing Security Measures
Security is paramount when accessing Raspberry Pi from the internet. Here are some essential security measures to consider:
Change Default SSH Port
Changing the default SSH port from 22 to a less common port can help deter automated attacks. To do this:
- Edit the SSH configuration file using
sudo nano /etc/ssh/sshd_config. - Find the line
Port 22and change it to a different number (e.g., 2222). - Save the file and restart SSH using
sudo service ssh restart.
Use Strong Passwords
Ensure your Raspberry Pi has strong, unique passwords. Consider using a password manager to generate and store complex passwords securely.
Exploring VPN Options
A Virtual Private Network (VPN) adds an extra layer of security by encrypting your connection. Using a VPN can protect your Raspberry Pi from unauthorized access and data breaches.
Setting Up a VPN on Raspberry Pi
- Install OpenVPN using
sudo apt install openvpn. - Download the configuration file from your chosen VPN provider.
- Transfer the file to your Raspberry Pi and start the connection using
sudo openvpn --config configfile.ovpn.
Troubleshooting Common Issues
Even with careful setup, issues can arise when accessing Raspberry Pi from the internet. Here are some common problems and solutions:
Unable to Connect via SSH
- Verify that SSH is enabled on your Raspberry Pi.
- Check your router's port forwarding settings.
- Ensure your firewall allows incoming connections on the specified port.
Best Practices for Remote Access
To ensure a smooth and secure remote access experience, follow these best practices:
- Regularly update your Raspberry Pi's software using
sudo apt update && sudo apt upgrade. - Monitor your network traffic for suspicious activity.
- Limit SSH access to trusted IP addresses if possible.
Conclusion and Next Steps
In conclusion, accessing Raspberry Pi from the internet is a powerful capability that can enhance your projects and streamline your workflow. By following the steps outlined in this guide, you can set up remote access securely and efficiently.
We encourage you to explore further by experimenting with different configurations and security measures. Don't forget to share your experiences and tips in the comments below. For more in-depth tutorials and resources, check out our other articles on Raspberry Pi and networking.
Thank you for reading, and happy tinkering!